How to create a DLL with SWIG from Visual Studio 2010
Step-by-step instructions. This assumes you have the source and are building a single DLL extension that links the source directly into it. I didn't go back through it after creating a working project, so I may have missed something. Comment on this post if you get stuck on a step. If you have an existing DLL and want to create a Python extension DLL that wraps it, this steps are slightly different. If you need help with that comment on this post and I will extend it.
Edit 8/19/2012: If starting with a C example, don't use -c++ in step 13 and use .c instead of .cxx for the wrap file extension in steps 14 and 19.
- Start Visual Studio 2010
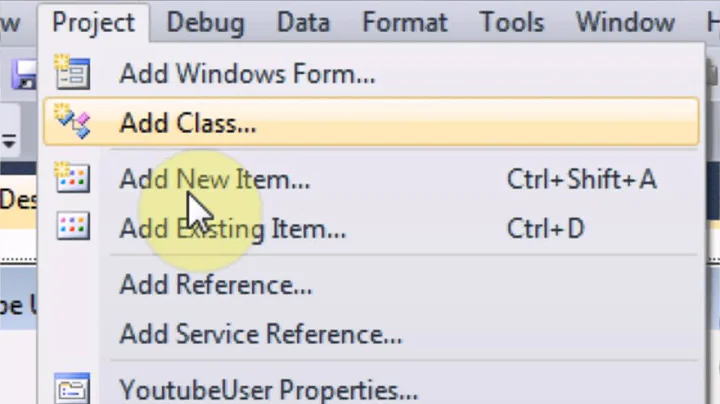
- File, New, Project from Existing Code...
- Select "Visual C++" project type and click Next.
- Enter project file location where the .cpp/.h/.i files are.
- For Project Name, choose the name used in %module statement in your .i file (case matters).
- Select project type "Dynamically linked library (DLL) project" and click Next.
- Add to Include search paths the path to the Python.h file, usually something like "C:\Python27\include" and click Next.
- Click Finish.
- Right-click the Project in Solution Explorer, Add, Existing Item..., and select your .i file.
- Right-click the .i file, Properties, and select Configuration "All Configurations".
- Change Item Type to "Custom Build Tool" and click Apply.
- Select "Custom Build Tool" in Properties (it will appear after Apply above).
- Enter Command Line of "swig -c++ -python -outdir $(Outdir) %(Identity)" (this assumes SWIG is in your path and redirects the generated .py file to the Debug or Release directory as needed).
- In Outputs enter "%(Filename)_wrap.cxx;$(Outdir)%(Filename).py".
- Click OK.
- Right-click the .i file, and select Compile.
- Right-click the project, Add, New Filter, name it "Generated Files".
- Right-click "Generated Files", click Properties, and set "SCC Files" to "False" (if you use source-control, this prevents VS2010 trying to check in the generated files in this filter).
- Right-click "Generated Files", Add, Exiting Item and select the _wrap.cxx file that was generated by the compile.
- Right-click the project, Properties.
- Select Configuration "All Configurations".
- Select Configuration Properties, Linker, General, Additional Library Directories and add the path to the python libraries, typically "C:\Python27\libs".
- Select Configuration Properties, General and set TargetName to "_$(ProjectName)".
- Set Target Extension to ".pyd".
- Build the "Release" version of the project. You can't build the Debug version unless you build a debug version of Python itself.
- Open a console, go to the Release directory of the project, run python, import your module, and call a function!
Related videos on Youtube
 19 : 44
 11 : 49
 14 : 08
 28 : 40
 14 : 08
 05 : 35
![[C# Trick] Cách nén toàn bộ dll vào một file thực thi duy nhất cho gọn, nhẹ, an toàn | Le Dung](https://i.ytimg.com/vi/YI64cofa9HA/hq720.jpg?sqp=-oaymwEcCNAFEJQDSFXyq4qpAw4IARUAAIhCGAFwAcABBg==&rs=AOn4CLBmlxHMDxnNikWhIh3YtsBNFaFQUQ) 12 : 18
12 : 18
user1449530
Updated on July 13, 2022Comments
-
user1449530 almost 2 years
I've been trying for weeks to get Microsoft Visual Studio 2010 to create a DLL for me with SWIG. If you have already gone through this process, would you be so kind as to give a thoughtful step-by-step process explanation? I've looked everywhere online and have spent many many hours trying to do this; but all of the tutorials that I have found are outdated or badly explained.
I have succeeded in going through this process with cygwin; but as some of you know, a cygwin DLL is not very practical.
As a result, I have .i, .cpp, and .h files that I know can create a DLL together. I just need to know how to do this with Visual Studio C++ 2010. The language that I am targeting is Python.
-
user1449530 almost 12 yearsThank you Mark for saving me (and probably a lot of other people) the trouble of finding this process through trial and error! I had to add to "Project Properties >> VC++ Directories >> Include Directories" my C:\Python27\include; but otherwise it worked like a dream! By the way, I was using Microsoft Visual C++ Express; but the process is obviously the same.
-
 Shmil The Cat almost 11 years@Mark - great post, can you kindly extend it to the case one has an exiting DLL ?
 -
odedfos over 10 yearsIt is worth noting SWIG will not work with python 64 bit version. Use the 32 bit version instead.
-
 Mark Tolonen over 10 years@odedfos Not true. It works fine with 64-bit. That's the main way I use it. Any DLLs being wrapped have to be 64-bit as well.
 -
Jiminion about 8 yearsGreat answer. Thank you very much. Just an FYI, don't actually write the quotes when entering, say: "swig -c++ -python -outdir $(Outdir) %(Identity)"
-
 delrocco over 6 yearsIf your Python install is 32-bit, then you must use configuration 32-bit. And so forth with 64-bit. You can't cross them or you will get unresolved externals.
 -
delrocco over 6 yearsFor Visual Studio 2017 there is no right-click "Compile" option for .i files. Note that you don't have to do any custom compiling of .i files from Visual Studio. You can just call swig from a shell first, then add the generated _wrap.c/.cpp to your Visual Studio project manually.