Setup IR Remote Control Using LIRC for the Raspberry PI (RPi)
This answer assumes the RPi is running raspbian (version Buster Jun 2019). Also a working knowledge of the terminal, basic commands from the command prompt and editing text files is assumed.
Step 1: Install lirc
1) Open terminal window and install LIRC. Be forewarned that this will likely raise an error "Failed to start Flexible IR remote input/output application support" as the installed files now have .dist appended and the suffix must be removed as noted below. Not hard but frustrating.
$ sudo apt-get update
$ sudo apt-get install lirc
----DON'T WORRY! as this will likely raise an error "Failed to start Flexible IR remote input/output application support" as the .dist suffix needs to be deleted from lirc_options.conf. Just copy the file as shown.
$ sudo cp /etc/lirc/lirc_options.conf.dist /etc/lirc/lirc_options.conf
2) Reinstall lirc now that the lirc_options.conf file has been renamed
$ sudo apt-get install lirc
Step 2: Edit lirc_options.conf
Edit /etc/lirc/lirc_options.conf as follows by changing these two lines:
:
:
driver = default
device = /dev/lirc0
:
:
Step 3: Perform copy to remove .dist suffix from lircd.conf.dist
Remove suffix .dist from /etc/lirc/lircd.conf.dist
$ sudo cp /etc/lirc/lircd.conf.dist /etc/lirc/lircd.conf
Step 4: Edit config.txt
Edit /boot/config.txt by adding one line in the lirc-rpi module section as follows. This example assumes the RPi is 'listening' on BCM Pin 17 for the IR receiver but any RPi IO pin can be used. I have not tried it yet but if you want to send commands from the RPi then add and uncomment the 4th line as shown below to send IR commands on BCM pin 18
:
:
:
# Uncomment this to enable the lirc-rpi module
#dtoverlay=lirc-rpi
dtoverlay=gpio-ir,gpio_pin=17
#dtoverlay=gpio-ir-tx,gpio_pin=18
:
:
:
Step 5: Check status and reboot
1) Stop, start and check status of lircd to ensure there are no errors!
$ sudo systemctl stop lircd.service
$ sudo systemctl start lircd.service
$ sudo systemctl status lircd.service
2) Reboot
$ sudo reboot
Step 6: Test remote
This step assumes you have have a IR receiver hooked up to your RPi on the pin specified in config.txt.
1) stop LIRCD service and test remote using mode2 command
$ sudo systemctl stop lircd.service
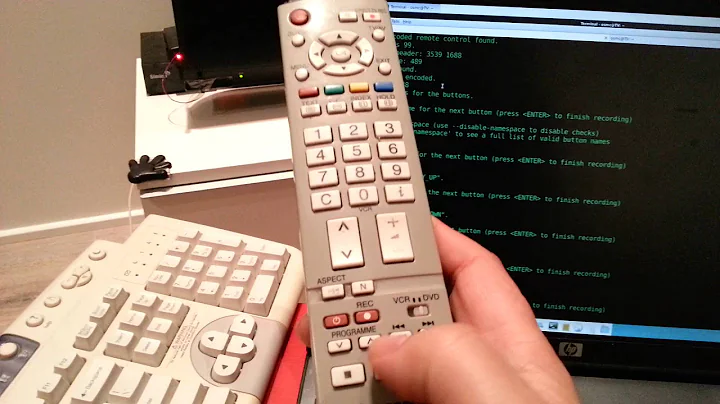
$ sudo mode2 -d /dev/lirc0
3) Point the remote at the receiver and press some buttons. You should see something LIKE this:
:
:
space
pulse
:
:
4) Press Ctrl-C to exit
5) Your IR receiver is setup and ready to proceed to Part 2 and be accessed in python.
Related videos on Youtube
 04 : 12
 25 : 27
 07 : 58
 08 : 12
 25 : 17
 08 : 29
 00 : 30
 00 : 21
user1200233
Updated on August 26, 2022Comments
-
user1200233 almost 2 years
After much searching I was surprised and dismayed about the conflicting information on how to setup IR remote control for my RPi project. I thought it would be easy but setting up Linux InfraRed Control (LIRC) has been problematic for a long time
But much changed in June 2019 with the release of the Buster version of Raspbian making much of the tutorials out there worthless. Many tutorials have you create a hardware.conf file but LIRC does not need nor want it and the lirc-rpi module has been replaced with the gpio-ir module.
So how do you set up LIRC on the RPi using Raspbian (Buster)?
-
leamas almost 5 yearsThis answer is fine if you actually want to use the default driver (which has a silly name). However, LIRC is a complex and flexible tool with other drivers available, notably the default devinput. See e. g., the official docs at lirc.org/html/configuration-guide.html
-
 Mubin Icyer over 4 yearsThanks for answer. What is the difference between
gpio_pinandgpio_in_pinin config.txt? What is the difference betweenlirc-rpiandgpio-ir? -
Mubin Icyer over 4 yearsI could not run
mode2command. I receivedCannot initiate device /dev/lirc0error. I must also stop socketsudo systemctl stop lircd.socket