Why doesn't Android recognize the WiFi hotspot created via Ubuntu?
- First of all you should make sure, that your wifi adapter supports infrastructure hotspots. If you used connectify on your windows system and it worked, skip this step.
open terminal and type: sudo lshw | less
find -network section and make sure that driver is ath5k or ath9k, this solution will only work for those drivers, but should fit the needs for the most laptop users.
- We now need to install 2 additional tools to make out hotspot, 1st one is hostapd(hotspot server), 2nd one is dnsmasq(dns dhcp server)
in terminal type: sudo apt-get install hostapd dnsmasq
- stop those services if started already, and prevent them from starting on system start up.
in terminal type: sudo service hostapd stop sudo service dnsmasq stop sudo update-rc.d hostapd disable sudo update-rc.d dnsmasq disable
- Now we need to set up config files. in terminal type: sudo gedit /etc/dnsmasq.conf or sudo kate /etc/dnsmasq.conf if you use kde
add those lines to the config file Code:
 # Bind to only one interface
 bind-interfaces
 # Choose interface for binding
 interface=wlan0
 # Specify range of IP addresses for DHCP leasses
 dhcp-range=192.168.150.2,192.168.150.10
- hostapd config
in terminal type: sudo gedit /etc/hostapd.conf
and add those lines
Code:
 # Define interface
 interface=wlan0
 # Select driver
 driver=nl80211
 # Set access point name
 ssid=myhotspot
 # Set access point harware mode to 802.11g
 hw_mode=g
 # Set WIFI channel (can be easily changed)
 channel=6
 # Enable WPA2 only (1 for WPA, 2 for WPA2, 3 for WPA + WPA2)
 wpa=2
 wpa_passphrase=mypassword
You can change ssid name and password for anything you want here. Current config will create hotspot named myhotspot with mypassword password.
- Now create anywhere you want a file named start.sh edit it with any text editor like this:
Code:
 #!/bin/bash
 # Start
 # Configure IP address for WLAN
 sudo ifconfig wlan0 192.168.150.1
 # Start DHCP/DNS server
 sudo service dnsmasq restart
 # Enable routing
 sudo sysctl net.ipv4.ip_forward=1
 # Enable NAT
 sudo iptables -t nat -A POSTROUTING -o ppp0 -j MASQUERADE
 # Run access point daemon
 sudo hostapd /etc/hostapd.conf
 # Stop
 # Disable NAT
 sudo iptables -D POSTROUTING -t nat -o ppp0 -j MASQUERADE
 # Disable routing
 sudo sysctl net.ipv4.ip_forward=0
 # Disable DHCP/DNS server
 sudo service dnsmasq stop
 sudo service hostapd stop
You will probably need to change ppp0 in this to eth0 (or any other number which refers to your wired connection.
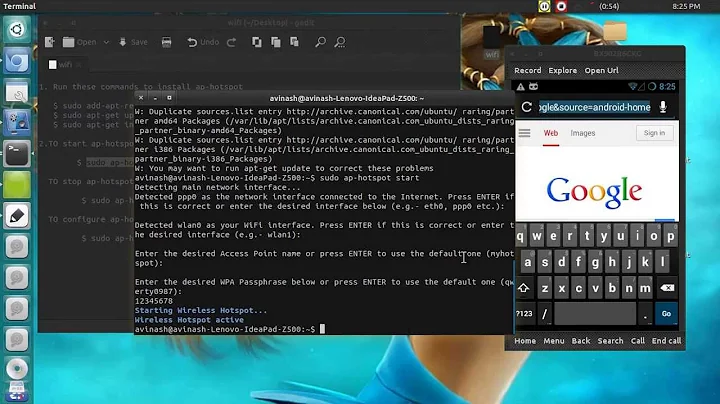
- Last step. Now you can start your hotspot by starting our script. just run it using sudo sh for me it looks like this sudo sh /home/ogyct/Desktop/start.sh because I have it on my desktop
Source: http://www.youtube.com/watch?v=U59PymP-K6Y
Related videos on Youtube
 04 : 26
 02 : 37
 07 : 00
 03 : 09
 02 : 51
Comments
-
Aditya almost 2 years
I have created WiFi hot spot via my Ubuntu laptop. And now I turned on WiFi in my Android mobile to access the internet but I'm unable to view the hotspot that I had created via Ubuntu laptop.
Did I do anything wrong? I want to access the internet on my Android mobile via Ubuntu laptop's WiFi. Is it possible?
-
Avinash Raj over 10 yearssee this askubuntu.com/questions/217499/…
-
 Admin about 10 yearsthis worked for me on ubuntu 13.10 but stopped working after upgrading to ubuntu 14.04, please help because every time i start the script i get this error * Restarting DNS forwarder and DHCP server configuration syntax check [fail] net.ipv4.ip_forward = 1
-