Stop a network drive from automatically mapping
Solution 1
How are you unmounting? Have you tried simply:
net use /d z:
Solution 2
From How to connect and disconnect a network drive in Windows XP:
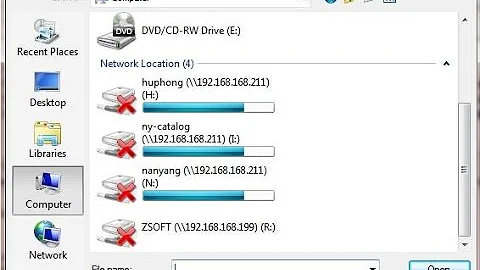
Disconnect from a mapped network drive
- Double-click
My Computer. - Right-click the icon for the mapped drive.
- Click Disconnect.
If it still returns, do :
net use /persistent:no
and then reboot. When you now log in, all of your mapped drives should be gone and you can remap the ones you need.
Solution 3
Remount the drive as before, but leave the "[] Reconnect at logon" box UNCHECKED. It will give a warning, but replace it anyway. On the next logon, it will be gone.
Related videos on Youtube
 04 : 33
 03 : 19
 10 : 38
 03 : 00
 02 : 36
tvanover
Updated on September 17, 2022Comments
-
tvanover over 1 year
I have a network drive that I originally set to automatically connect on login. However, now I need it to stop doing that. Even if I manually un-mount it as soon as I log back on it is back.
To mount the drives all I did was right click on My Computer and choose mount a network drive. Once I entered the path information I checked reconnect after login. Now it reconnects every time I log in.
I have multiple drives that I auto mount in this manner and I need to prevent just one of them from mounting on boot.
-
JMD over 14 yearsWhat method are you using to un-mount it?
-
tvanover over 14 yearsright click and choose unmount.
-
-
tvanover over 14 yearsno I just mounted it by right clicking on my computer and told it to mount on login
-
tvanover over 14 yearsHow do I prevent this from stopping the rest of my drives from auto-mounting?
-
tvanover over 14 yearsno script, just right click on my computer and frollow the mount network drive wizard. there is an option to mount on login that I chose.
-
 TheModularMind over 14 yearsNo, you can do this selectively as far as I know, just specify the drive letter, like you would for mounting/mapping in the first place, so: net use x: \\server\path /persistent:no will map this just once and not persist, then net use x: /del will get rid of that drive alone (you may have to do steps 2, 1, 2 since you already have it mapped)